
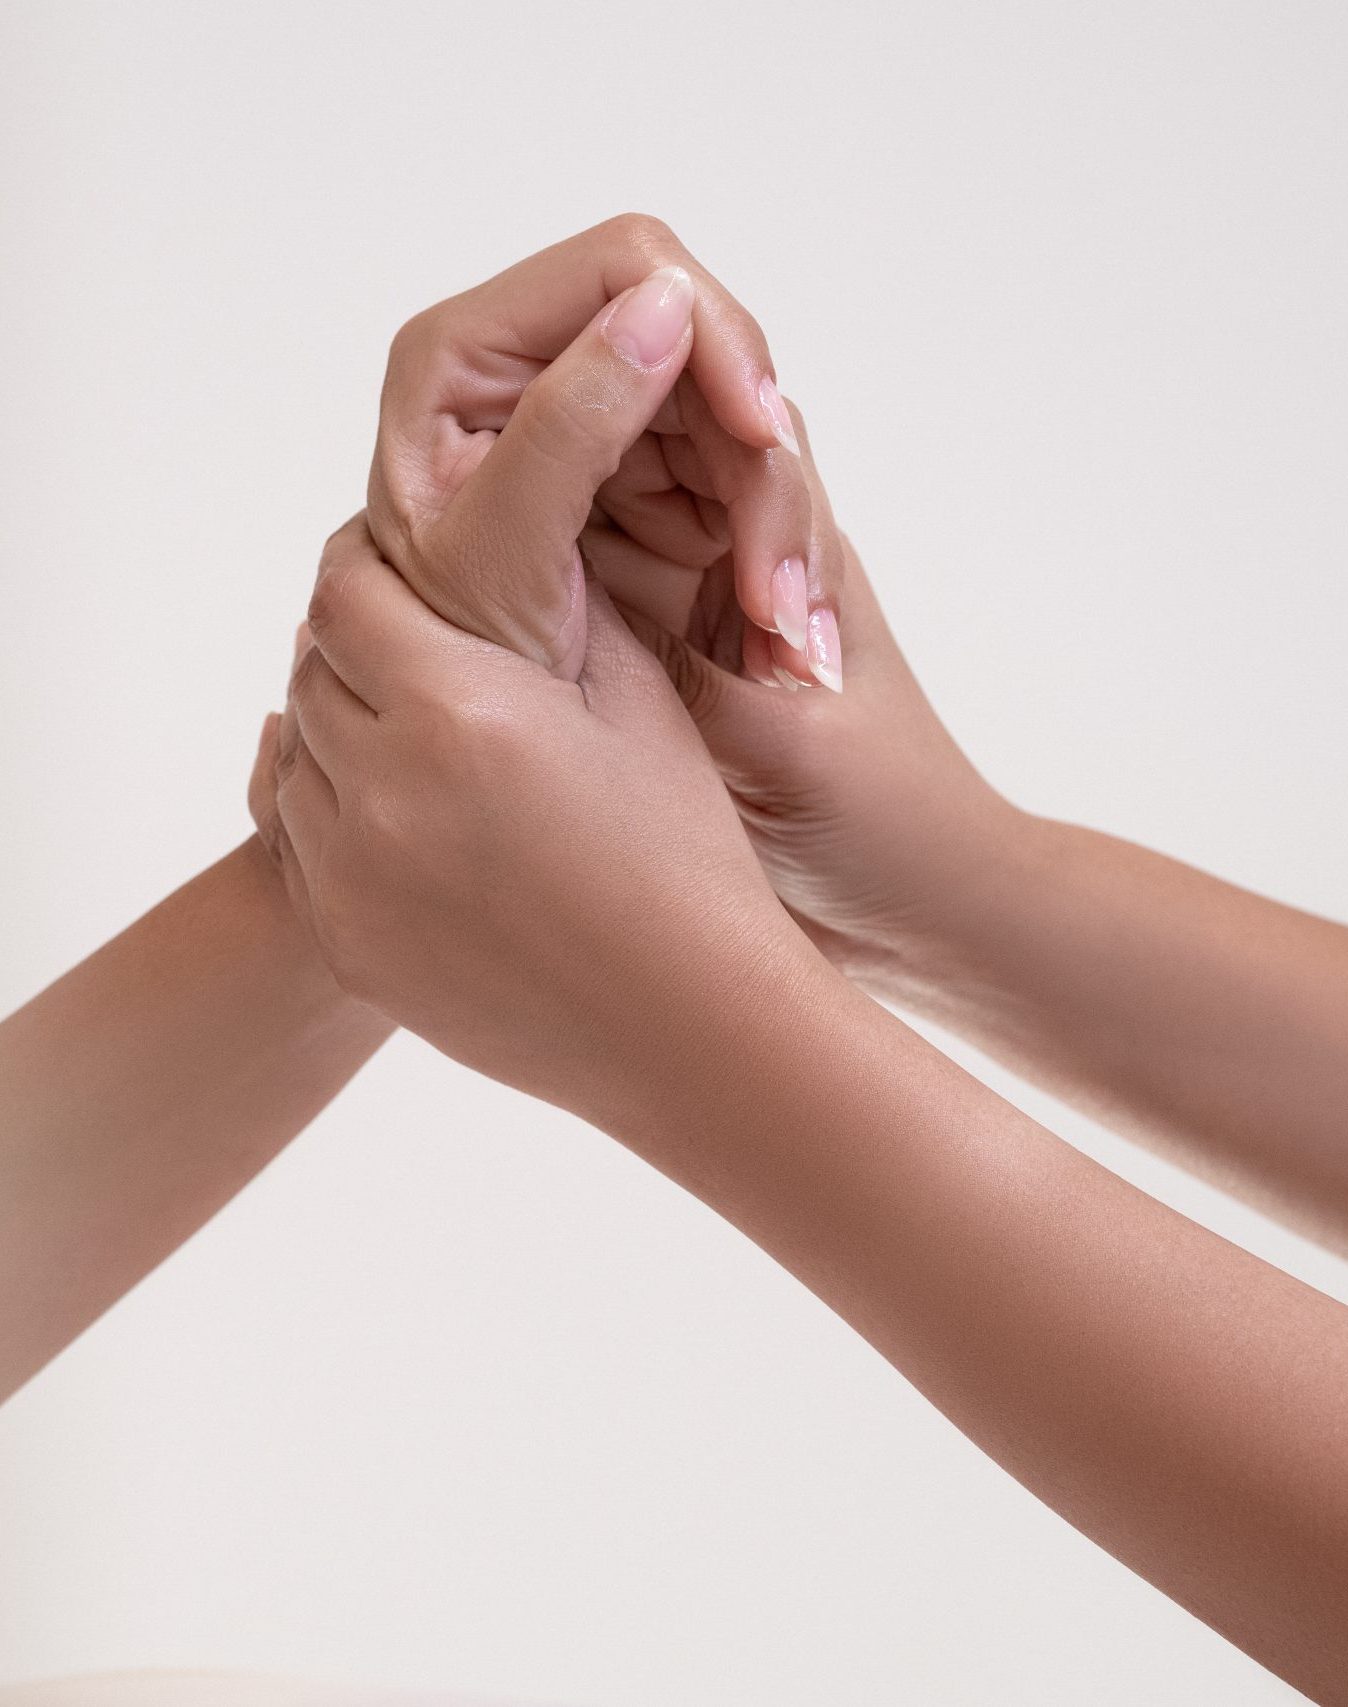
A professional-looking manicure begins long before the gel touches the nail. Clean prep, controlled brush movements, the right product amount, and accurate curing all support a smooth finish. Hard builder gel rewards patience and precision, especially during shaping.
With the right routine and tools, hard builder gel can give nails impressive structure and a refined salon style finish.
Prepare the natural nails
Start with clean, dry nails free from lotion and oil. Gently push back the cuticles and remove loose skin around the nail plate. Shape each nail with a file, then lightly buff the surface to remove shine. Brush away dust before applying nail cleanser. Avoid aggressive filing because excessive buffing can weaken the natural nail and cause sensitivity.
Choose the right brush
A quality gel brush gives better control during application. Pick a flat or oval brush that matches your nail size and personal technique. Keep the brush clean and use gentle pressure while guiding the product across the surface. Too much pressure spreads gel unevenly, while a light hand helps maintain a smooth layer with neat edges.
Apply thin, balanced layers
Start with a small amount of builder gel near the center of the nail. Guide the product toward the cuticle area while leaving a tiny gap around the skin. Move the brush toward the free edge with controlled strokes. Build the structure gradually instead of placing a thick amount in one spot. Thin layers also support even curing.
Build the apex correctly
The apex gives the nail strength and a polished profile. Place slightly more product around the upper center area, then guide it gently toward the sidewalls and tip. Check the nail from different angles before curing. Keep both sides balanced and avoid flooding the cuticle. A smooth apex supports a neat shape without unnecessary bulk.
Cure every layer properly
Use a compatible LED or UV lamp and follow the curing time listed by the gel manufacturer. Place the entire nail beneath the light so every section receives proper exposure. Avoid guessing the curing time based on appearance. Proper curing supports product performance and helps reduce lifting, cracking, or soft spots.
Refine the finished shape
After curing, inspect each nail before filing. Smooth uneven edges with a fine file and refine the sidewalls for symmetry. Remove filing dust before applying your chosen top coat. Finish with cuticle oil around the surrounding skin, avoiding heavy oil contact before the final gel layer sets.